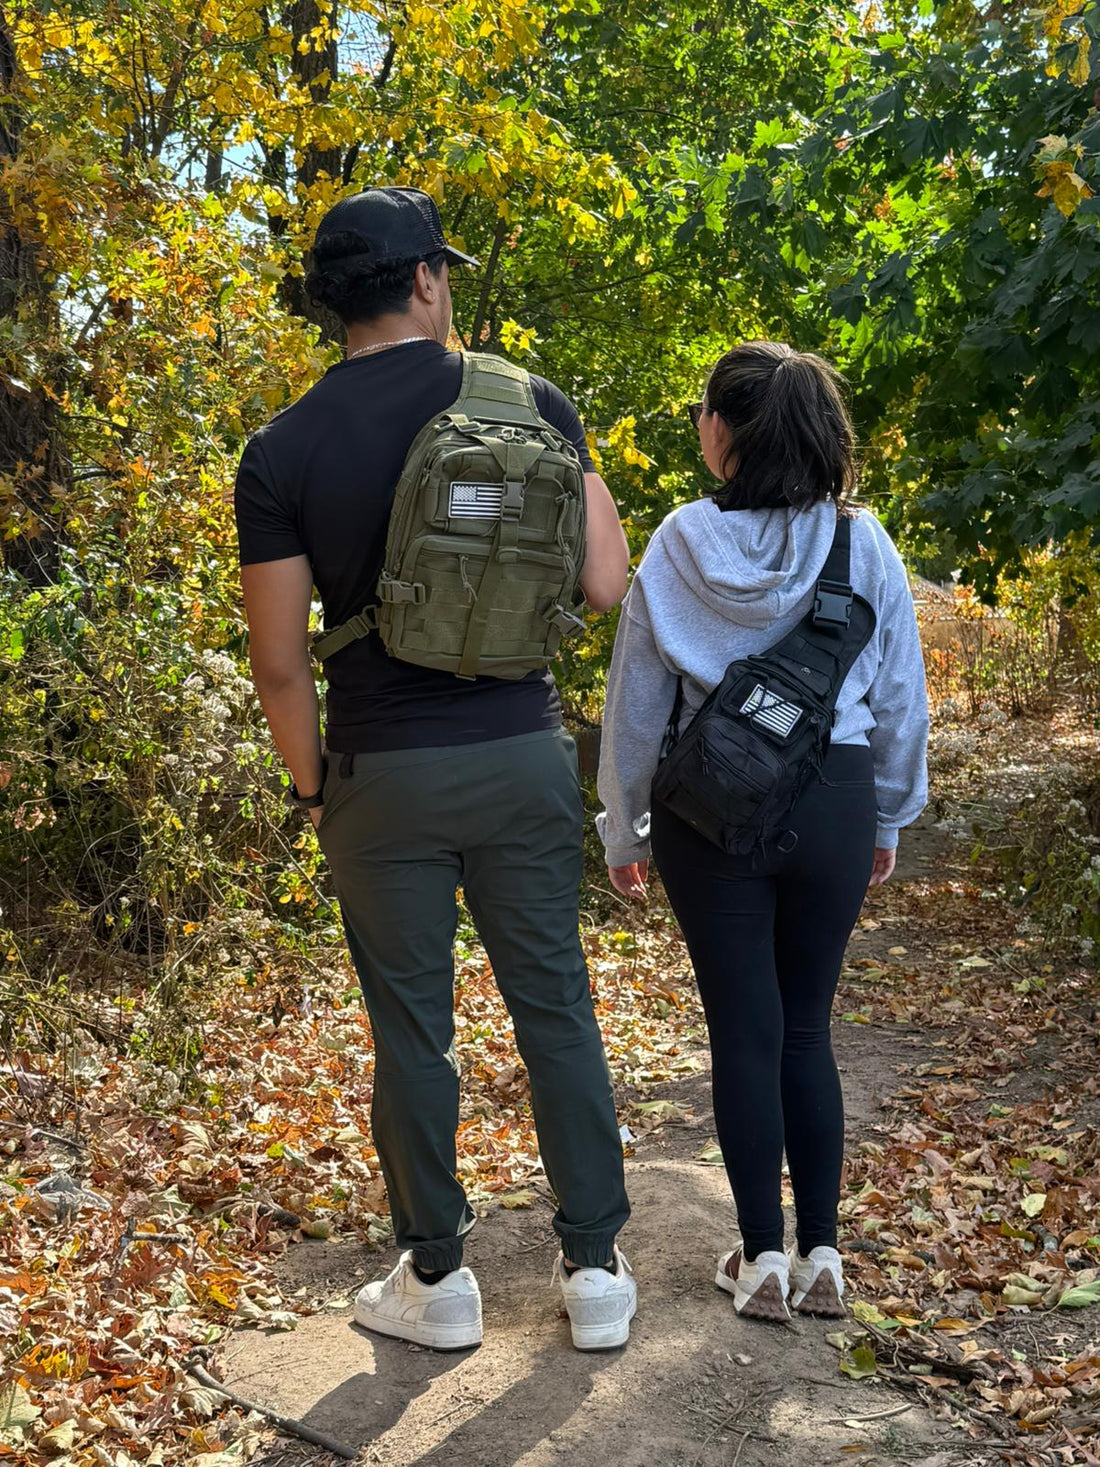
How To Pack A Hiking Backpack
How to Pack a Hiking Backpack Like a Pro (and Avoid Rookie Mistakes)
Hiking is all fun and games until you're halfway up the trail, your water bottle is buried under a mountain of socks, and you're wondering why your pack feels like you’re carrying a baby elephant. Don’t worry—packing a hiking backpack doesn’t have to be a chore. Here’s how to do it right, with some tips to keep you comfy and well-prepared.
Step 1: Start With the Essentials (No, Snacks Are Not Optional)
You’ll need to pack your Ten Essentials (look it up, trust us). But we’ll focus on the biggies:
WaterHydration is life! Use a lightweight, durable water bottle from Lost Lake Outdoor’s Water Bottle Collection. Pro tip: Don’t be the person who "just drinks from streams." That’s how you make friends with Giardia (not recommended).
Food
Bring calorie-dense snacks—trail mix, jerky, energy bars. And for longer hikes, pack lightweight meals. Keep them easy to reach because “hangry hiker” is a real personality you’ll want to avoid.
Navigation
Carry a map, compass, or GPS (or all three). A knife from Lost Lake Outdoor’s Knives Collection is handy for sharpening sticks for s’mores or fending off the rare aggressive bag of chips.
Step 2: Pack Strategically (AKA Backpack Tetris)
Think of your backpack in three zones:

Bottom Zone – Light and Bulky
This is where you stash items you won’t need until camp, like your sleeping bag or a cozy Lost Lake Outdoor hoodie from our Apparel Collection. Stuff it in a compression sack to save space.
Middle Zone – Heavy Stuff
Place heavier items like your food stash, cooking gear, or extra water here. The idea is to keep the weight close to your back so you’re not stumbling around like a baby deer.
Top Zone – Quick-Grab Items
Rain jacket? Snacks? Sunscreen? These are the MVPs of any hike, so keep them handy. A lightweight Lost Lake Outdoor backpack is perfect for day hikes and keeping you organized.
Step 3: Outside Pockets Are for Life Savers (and Lip Balm)
Don’t overlook your backpack’s outer pockets. Use them for small but essential items like:
- First aid kit (because blisters happen).
- Lip balm with SPF (no one likes crusty, sunburned lips).
- Knife (you never know when you’ll need to cut a stubborn granola bar wrapper).
Step 4: Strap It All Down Like You Mean It
Loose gear flopping around? Not cool. Use compression straps to cinch everything down. Got trekking poles or a Lost Lake Outdoor hydration pack? Attach them to your pack’s exterior loops for easy access.
Step 5: Test It Before You Hit the Trail
Strap on your loaded pack and take it for a spin around the house (bonus points if you pretend you’re summiting Everest). If it’s too heavy or feels awkward, reorganize until it’s comfortable.
Avoid These Common Rookie Mistakes
OverpackingDo you really need five pairs of socks for a day hike? No.
Thinking “I won’t need a rain jacket” is the fastest way to summon a downpour. Grab a waterproof jacket from our Apparel Collection to stay dry.
Don’t let mosquitos ruin your trip. Keep the bugs away and your sanity intact.
Final Tip: Pack Smart, Hike Happy
When your pack is light, your spirits stay high. Remember to stop, take in the views, and snack often. And if you’re missing any hiking essentials, check out our collections at Lost Lake Outdoor to gear up like a pro.


